Trading the Forex market successfully requires more than just indicators and guesswork. One of the most powerful and widely used price action strategies is trading supply and demand zones. These zones reveal where institutional traders (banks and large financial players) are placing orders—giving retail traders a significant edge.
In this guide, you’ll learn what supply and demand zones are, how to identify them, and how to trade them effectively for consistent Forex profits.
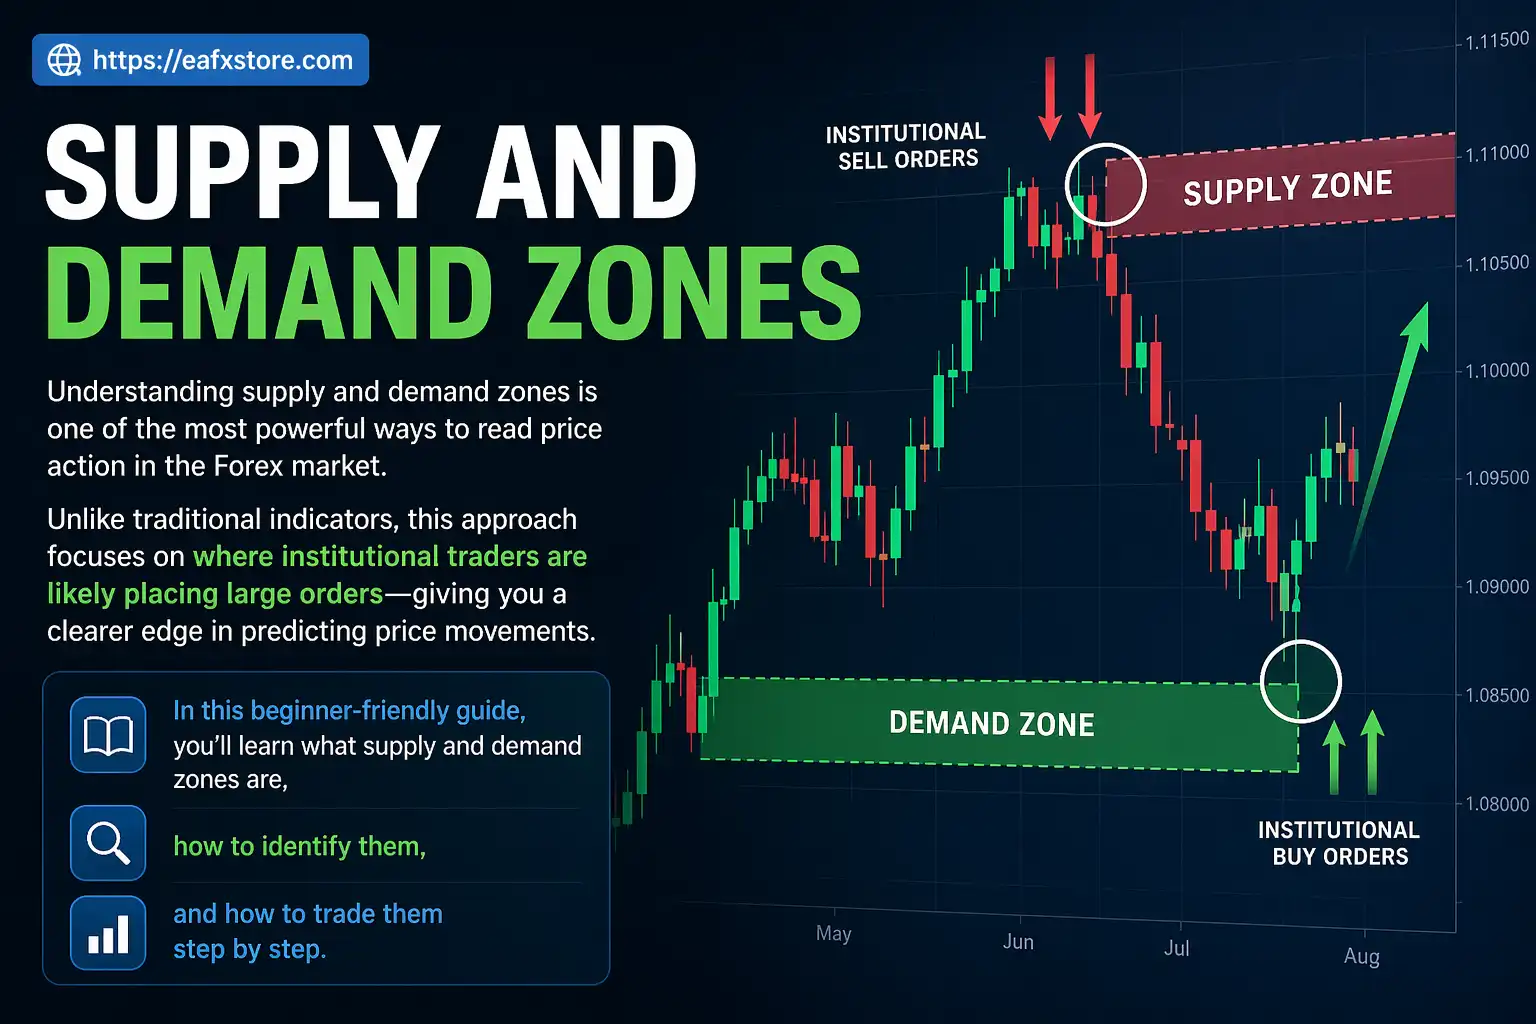
What Are Supply and Demand Zones?
Supply and demand zones are areas on a price chart where strong buying or selling has previously occurred.
- Demand Zone: A price level where buyers overwhelm sellers, causing price to rise.
- Supply Zone: A price level where sellers overwhelm buyers, causing price to fall.
These zones are not just random levels—they represent institutional activity, where large orders create sharp price movements.
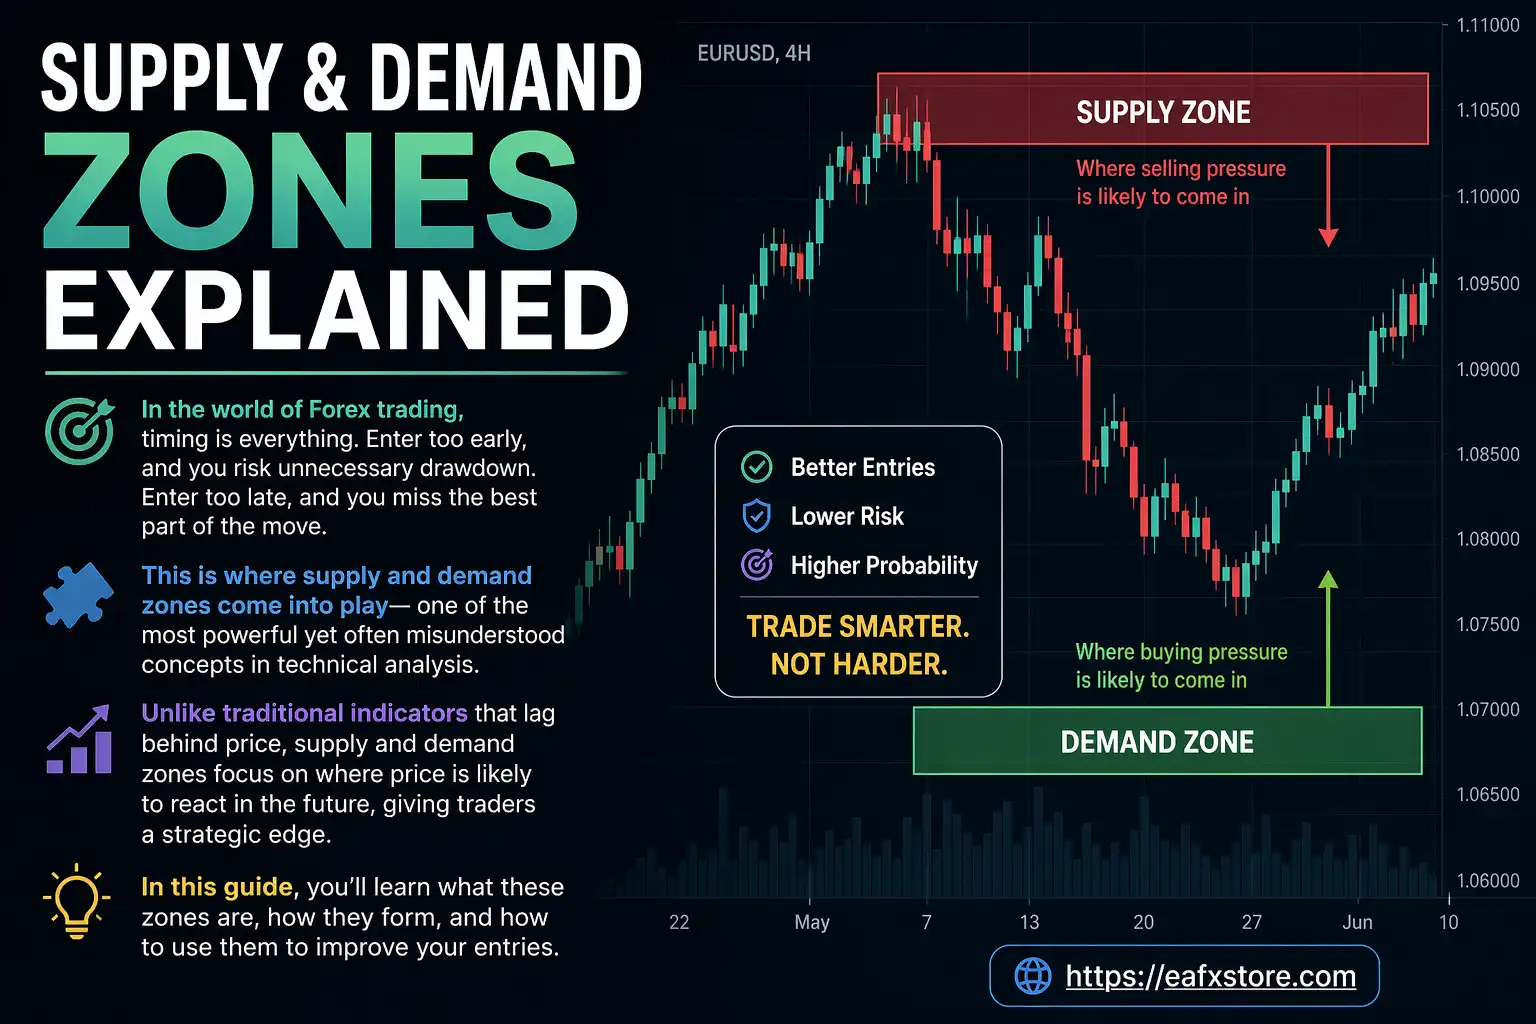
Why Supply and Demand Trading Works
Unlike lagging indicators, supply and demand zones are based on pure price action. They work because:
- Markets move due to imbalances between buyers and sellers.
- Institutions leave footprints on charts.
- Price often returns to these zones to “fill orders”.
By identifying these zones early, traders can enter trades with high probability and low risk.

How to Identify Supply and Demand Zones
Identifying zones correctly is crucial. Here’s a simple method:
Look for Strong Price Moves
Find areas where price moved sharply up or down with little consolidation.
- Strong rally → Demand zone.
- Strong drop → Supply zone.
Identify the Base
Before the strong move, there is usually a small consolidation area (base).
This base becomes your zone.
Mark the Zone
Draw a rectangle around the base:
- For demand: from the lowest wick to the body.
- For supply: from the highest wick to the body.

Types of Supply and Demand Zones
Understanding different types helps refine your strategy.
| Type | Description | Strength |
|---|---|---|
| Fresh Zone | Price hasn’t returned yet | Very Strong |
| Tested Zone | Price has revisited | Moderate |
| Broken Zone | Zone is violated | Weak |
| Flip Zone | Supply becomes demand (or vice versa) | Strong |
Entry Strategies for Supply and Demand Trading
There are two main approaches:
Aggressive Entry
- Enter immediately when price reaches the zone.
- No confirmation needed.
Pros:
- Better risk-reward ratio.
- Early entry.
Cons:
- Higher risk.
Conservative Entry
- Wait for confirmation (e.g., candlestick patterns, rejection wicks)
Examples of confirmation:
- Pin bar.
- Engulfing candle.
- Break of structure.
Pros:
- Higher probability.
- Safer entries.
Cons:
- Slightly worse risk-reward.

Stop Loss and Take Profit Placement
Proper risk management is essential.
Stop Loss
- Place just outside the zone.
- For demand: below the zone.
- For supply: above the zone.
Take Profit
- Next opposing zone.
- Key support/resistance levels.
- Risk-reward ratio (minimum 1:2 recommended).
Example Trade Setup
| Step | Action |
|---|---|
| 1 | Identify a strong drop (supply zone) |
| 2 | Mark the base before the drop |
| 3 | Wait for price to return |
| 4 | Enter sell trade |
| 5 | Place stop loss above zone |
| 6 | Target next demand zone |
Best Timeframes for Supply and Demand
Supply and demand works on all timeframes, but some are more reliable:
- Higher Timeframes (H4, Daily): Stronger zones, less noise.
- Lower Timeframes (M15, M5): More opportunities, but riskier.
Pro Tip: Use multi-timeframe analysis:
- Identify zones on higher timeframe.
- Execute trades on lower timeframe.

Advanced Tips for Better Results
To improve your consistency, consider these advanced techniques:
- Combine with Trend Analysis: Trade in the direction of the overall trend for higher probability.
- Use Liquidity Concepts: Markets often sweep liquidity before moving in the real direction.
- Look for Imbalance (Fair Value Gaps): Imbalances often align with strong zones.
- Zone Freshness Matters: Fresh zones are more powerful than tested ones.
Pros and Cons of Supply and Demand Trading
| Pros | Cons |
|---|---|
| High accuracy | Requires practice |
| Works on all markets | Subjective drawing |
| Clear risk management | Not always frequent setups |
| Institutional logic | Needs patience |
Final Thoughts
Supply and demand trading is one of the most effective Forex strategies because it aligns with how markets truly operate—through institutional order flow.
By learning how to correctly identify zones, wait for high-probability setups, and manage risk properly, you can significantly improve your trading performance.
However, consistency comes with practice and discipline. Start by backtesting this strategy on historical charts, then apply it in a demo account before trading live.